
Seed Starting Indoors
Step by step: Fast and Easy
This post may contains affiliate links. Which means I could make a small commission at no cost to you. For more information see Affiliate Disclaimer at the bottom of the page. Thank you
Winter it still here but grab your calendar it’s time to start seeds indoors for a spectacular harvest this season. Now here in zone 3 this is vital for a variety of reasons. The most important being our last frost isn’t usually until the third week of May. So here is a list of necessities and suggestions to make life easier when getting started this year. Whether it’s your first time or you just want to make sure you didn’t forget a step this year planning everything out. Let’s get to it, 5 easy step by step instructions.
Before Getting Started !
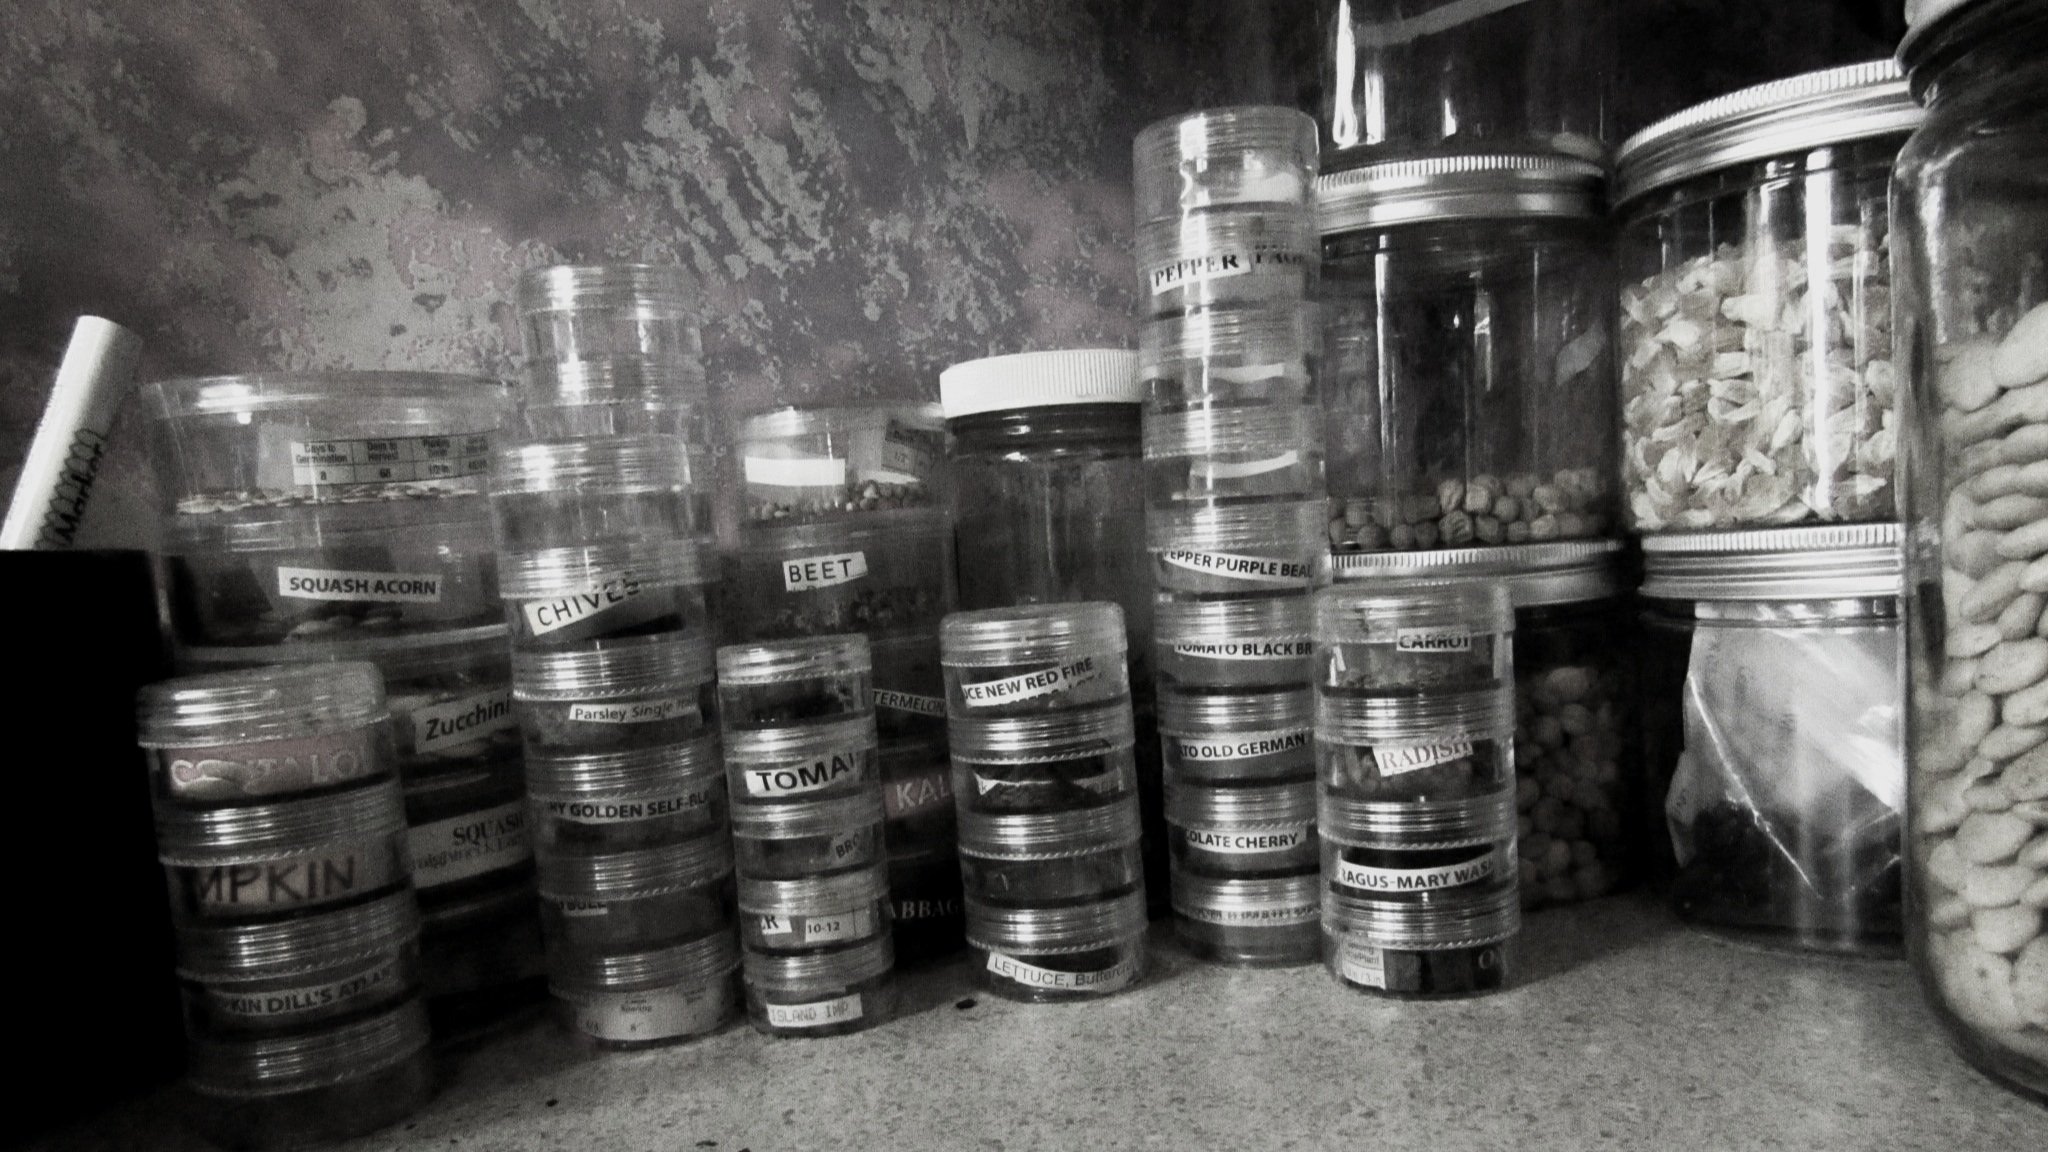
Seeds
What are we planting?
Write out a list of what you want, think about what you actually eat fresh or cooked dried or canned. Ok. So that’s your list. Do you have the seeds you need? Quality seeds are needed for optimal results. Have your seeds been in storage or are they new. Stored seeds can have a lower germination rate if stored a long period. Pre germination is an option you can use to your advantage if you are concerned. It will also speed up germination time if you have waited till the last minute. Here is one you can use.
Where are you planting?
Indoors is a broad area, some things to consider when choosing your location is. Are they going to be in your way or out of sight? It will be weeks of care for this future harvest. If they are in the way, frustration is quickly coming your way. Out of sight can work but will you remember to care for them. Is water close by, or are you walking through the house and up the stairs. Spaces can be limiting so keep in mind, the plants are not going to stay small forever, and lack of space can hinder a plant in some cases less plants can be a larger harvest. So consider what you truly want out of what you are planting. You have your space all set awesome.
What’s your setup look like?
Grow lights they are a must in my book, even with a south facing window the plants get leggy trying to get the light they need to prosper. Now 2000 lumens is a minimum requirement, but you can add lights number of lumens together to get your number higher. what I mean is one bulb with 1200 lumens and another with 1000 lumens will add up to 2200 lumen you now have enough. You won’t need the the lights until germination has occurred.
Fans can help a lot, they harden seedlings as you go for strong sturdy sprouts. They also help air flow keeping soil from being too moist and can help prevent mold and damping off. It doesn’t have to be big a small one will work wonders, but if what you have on hand is larger put it across the room to keep air constantly circulating.
Heat mat not a requirement but handy in moderation. Not all plant want to be warm like cold crops, but some can benefit with faster germination times but once plants have germinated shut them off. Heat It comes from the sun naturally not the soil. Does it have a timer? Can you set a thermostat? All things to consider with changing daily schedules.
Containers what are you using? Do you have old pots, are they sanitized if reusing? Maybe you’re recycling an everyday item that would otherwise be trash, like egg cartons or a daily Starbucks cup. It’s important for holes to be in the bottom for water to come up through. A tray to put them in that holds water would be ideal for bottom watering. You also don’t want anything too deep, 2 to 3 inches is preferable. Maybe you’re not using containers but making soil blocks you will want a tray or box to hold them. Whatever you choose make sure there is not too little or too much space. Too little and your plant will outgrow a container quickly and have to be planted up sooner. Too much space and your containers will take up more space than you plants, This will be limiting as to how many plants you can have, as well as the fact a larger container will hold more moisture longer, and can be leading to problems down the line. Peat pots are a one and done if used to long they begin to crumble. Fabric pots are also an option though the size is larger you can plant multiple in the area without having to transplant in a month and the sides allow air flow.
What are you using for soil?
Seed starting mixes have what you need but can be pricey. Potting soils are too coarse, you’re looking for light and fluffy. You can sift a potting soil down and it will work great. Maybe you have made a nutrient rich compost. Keep in mind to germinate seeds you do not need soil, just a seed starting mix. The cotyledon leaf have the nutrients a plant needs for the first weeks of life. You want a light, airy and sterile medium to grow in. Consider adding vermiculite and perlite for water retention and airy medium.
Are you using a humidity dome?
It can be clingwrap, a Ziplock baggy. It’s not a necessity although it will help you keep soil temp up as well as a consistent moisture. It works to bring condensation back down to soil, water continues to evaporate up and the cycle continues. But keep in mind it will need to be removed once plants have germinated to avoid fungal problems.
Now if you have what you need let’s get started.
Fill your containers with soil. Tamp it down so there are no air pockets, but not so hard that it isn’t still fluffy.
Wet the soil, you don’t want it saturated you just want it damp though out.
Make a small divot in the top to put the seed in. You don’t want the hole too deep. Read your packets for depth instructions. Quality seeds come with accurate labeling to aid you. A rule of thumb you don’t want to plant any deeper than twice the width of the seed.
Sow the seed in the hole you just made, seed point downward and cover lightly and tamp gently. Now the pointed end is where the root first emerges but if you don’t put the point downward the plant will figure it out and grow with gravity.
Water not too much or too little. The soil needs to be moist but not saturated you should not be able to ring it out. The seed doesn’t want to be washed away either. A spray bottle can work wonders. Bottom watering is ideal, absorption brings water up allowing it to reach the seed without displacement.

seeds are started
Optional steps:
Cover with a form of humidity dome, to keep consistently moist growing medium.
Place on heat mat to speed up germination times.
Turn on a fan to keep air flow and prevent future problems caused by too much moisture.
Now you wait your seed is started.